

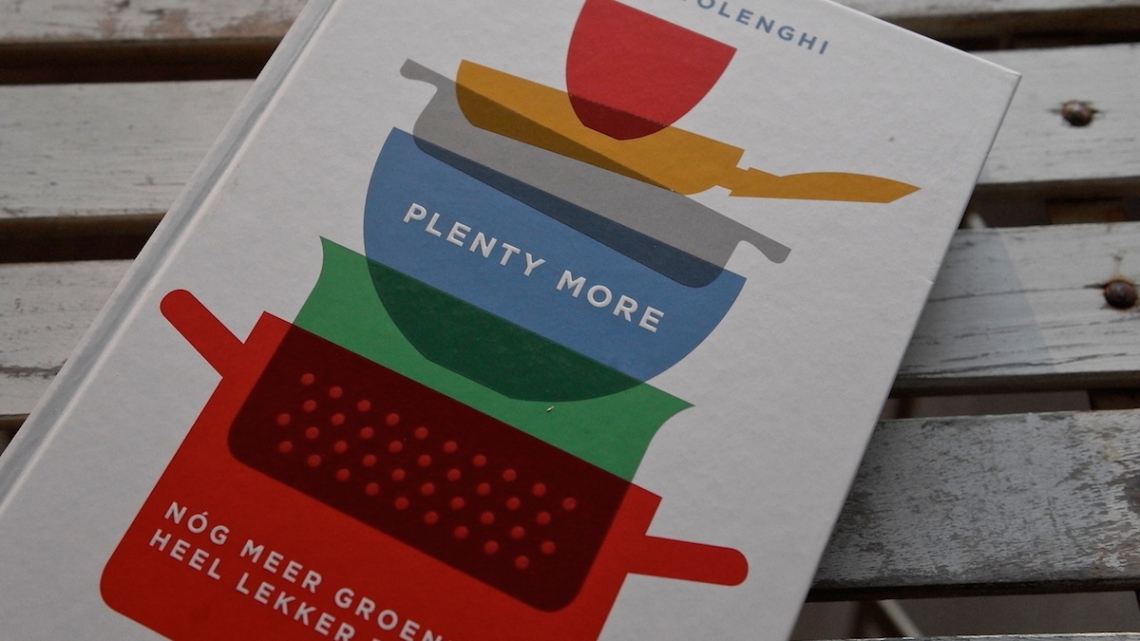
Plenty More - Yotam Ottolenghi
As most of you know by now, we are HUGE Ottolenghi fans. We love his creative use of simple ingredients, especially vegetables and is combinations of Middle Eastern spices.
Plenty More has been out for a while now. It's the sequel to Ottolenghi's immensely popular Plenty. The book has been categorised into cooking methods, again with the most tantalising and beautifully photographed recipes.
The best way to review a book, in our opinion, is to cook out of it. And that's just what we did! We made the Fig Salad for lunch and it was just delicious. Here is the recipe:
Yotam Ottolenghi's Fig Salad
Ingredients
2 small red onions (200g in total)
3 Tablespoons olive oil
50g hazelnuts, skin on
60g radicchio leaves, roughly torn
40g basil
6 large ripe figs (300g in total)
1 Tablespoon balsamic vinegar
1/4 teaspoon cinnamon
salt and black pepper
Method
Preheat the oven to 220 C.
Peel and halve the onions, lengthways and cut each half into 3cm-wide wedges. Mix together with 1/2 tablespoon of olive oil, a pinch of salt and some black pepper and spread out on a baking tray. Roast in the oven for 20-25 minutes, stirring once or twice during cooking, until the onions are soft and golden and turning crispy in parts. Remove and set aside to cool before pulling the onions apart with your hands into bite-sized chunks.
Reduce the oven temperature to 160 C. Scatter the hazelnuts on a small roasting tray and toast for 20 minutes. Remove from the oven and, when cool enough to handle, roughly crush with the flat side of a large knife.
Assemble the salad on four individual plates. Mix the three leaves together and place a few on the bottom of each plate. Cut the figs lengthways into four or six pieces. Place a dew fig pieces and some roasted onion on the leaves. Top with more leaves and continue with the remaining fig and onion. You want to build up the salad into a small pyramid.
In a small cup, whisk together the remaining olive oil, vinegar and cinnamon with a pinch of salt and some black pepper. Drizzle this over the salad, finish with the hazelnuts and serve.
Chefs Notes
We loved the salad, fresh, sweet and full of flavour. We think it can do with a little mor roasted onion, but that's a personal preference.
Publisher: Fontaine Uitgevers
Author: Yotam Ottolenghi
Price: 29,95 euro

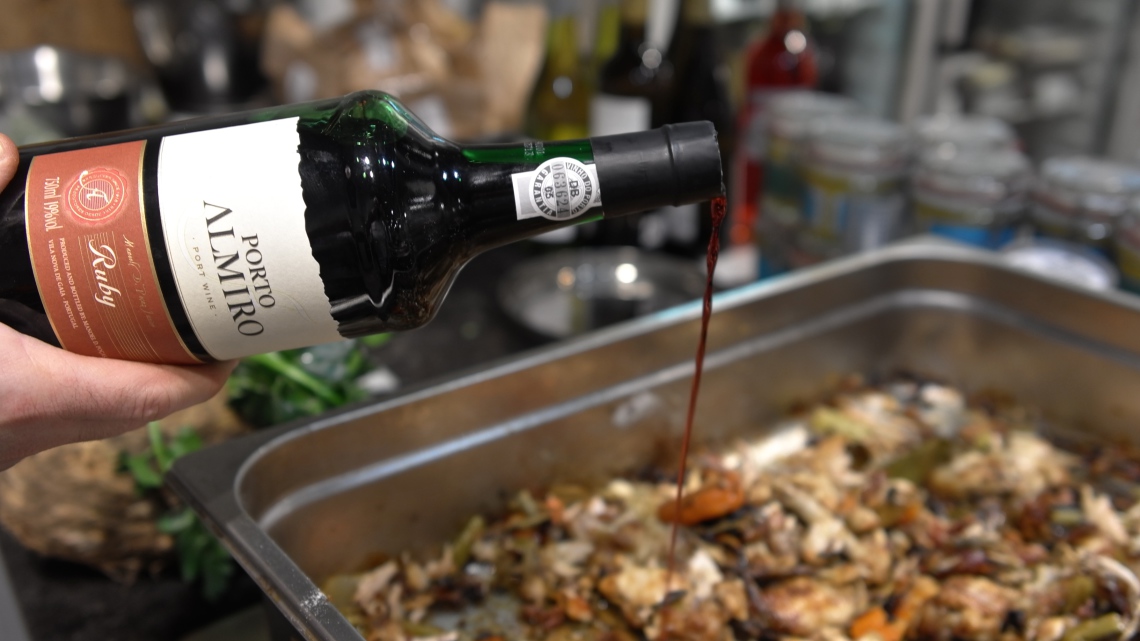
Gravy
This is a recipe we've adapted from Jamie Oliver for making your gravy ahead of time. It's really brilliant!
Makes 1 litre
Ingredients
2 celery sticks, trimmed and roughly chopped
2 carrots, roughly sliced
2 onions, peeled and quartered
5 fresh bay leaves
5 fresh sage leaves
4 sprigs of fresh rosemary
2 star anise
2 rashers of smoked streaky bacon
8 chicken wings
olive oil
sea salt
freshly ground black pepper
4 tablespoons plain flour
60 ml port
2 heaped dessert spoons cranberry sauce, for finishing
Method
Preheat the oven to 200º C. Put the vegetables, herbs and star anise into a roasting tray. Scatter the bacon on top. Cut the chicken wings in half to help release more of their flavour. Put them in the pan, drizzle with olive oil, sprinkle over a few pinches of salt and pepper then toss everything together and put the tray in the oven to cook for 1 hour, or until the meat is tender and falling off the bone.
Take the pan out of the oven, and put it on a hob over a low heat and use a potato masher break everything up. Keep mashing, moving and scraping all the goodness from the bottom of the pan as you go. Gradually mix in the flour to thicken the mixture. The longer you let everything fry, the darker your gravy will be. When the flour is combined add the port and cook until it has almost all but disappeared. Pour in 2 litres of hot water, turn the heat up and bring to the boil for 10 minutes, till thickened, then turn down the heat and simmer for about 25 minutes, stirring occasionally.
When it's reached the consistency you're looking for, check the seasoning then push it through a sieve into a large bowl. Really push and mash everything through so you get as much flavour as possible. Discard anything left behind. Once it has cooled down to room temperature put it into containers or freezer bags and pop it in your freezer. You'll finish it off on Christmas Day.
Finishing the gravy
To finish the gravy, take your it out of the freezer when you're ready to cook your turkey. That way, it will defrost as your turkey cooks. When the turkey is perfectly cooked, put a carving fork inside the cavity and use that to pick the bird up and tilt it over the pan so all of the juices inside run out.
Spoon away as much of the fat as possible, then pour your pre-made gravy into the pan with the rest of the turkey juices. Bring it to the boil over the hob and scrape all those flavourful bits and pieces from the bottom of the pan. Have a taste then add the cranberry sauce. It won't taste sweet but it will add a wicked background flavour.
Once your gravy is piping hot, strain it through a sieve and into a pan. Leave that on the lowest heat to keep warm until you're ready to serve. Skim away any fat that rises to the top and add any extra resting juices from the turkey before serving.
We, the Amsterdam Flavours chefs, hope you enjoy this recipe as much as we do. If you have any questions on how to prepare it or just want to send us your feedback, you can reach us here Contact Amsterdam Flavours

Bloempie
On a recent visit to the Zuidermarket, we discovered a new product called Bloempie.
As we approach the festive season, where parties are being hosted, you need look no further for something which is easy to serve but also looks and tates good.
Bloempie is a small sourdough bread 'pot' which can be served as a canapé or used, in it's larger form, as a starter.
The small versions are available already filled or unfilled, to which you can add your personal touch.
The filled versions are available in the following:
- Grilled pepper, ricotta, anchovy and basil
- Salt cod with garlic, tomato and celery
- Provolone cheese fondue with chives
- Porcini ragout with parsley
- Lamb with peas, cream and tarragon
You'll also find an array of dried sausages and salami's at their Zuidermarket stall.
For more information, please visit Bloempie or visit the Zuidermarket.
Cotes du Rhone blanc Les Travers - White Wine
Origin
Côtes du Rhône Villages Cairanne Blanc – AOC
Flavour profile
Soft, elegant, aromatic. A real winter wine.
Grape variety
30% Clairette, 20% Roussanne, 30% Grenache Blanche, Marsanne and Viognier (may vary per vintage year)
Vineyard
Les Travers includes several lots on the hills of Cairanne and on the flat Plan de Dieu. For this white Les Travers the grapes are harvested in vineyards with a bottom of clay and limestone on the flanks of the 'coteaux' and alluvial sand in the Valley. The average age of the vines is more than 30 years.
Vinification
The grapes are 100% hand-picked and carefully selected in the vineyard. Upon arrival in the wine cellars, they are immediately pressed and pneumatically cooled for the must to settle. 80% of the fermentation takes place in stainless steel tanks at 18 ° C and 20% in new oak barrels, with regular bâtonnage. To maintain the necessary freshness in the wine is typically a malolactic fermentation not desired.
Taste/nose
Very bright and sparkling colour, yellow with a green tang. In the nose, floral aromas dominate, complemented by nuances of exotic fruits, pear, melon and tangerine with a hint of vanilla. Notes of almond paste and honey are not far away. Spicy, fruity and round in the beginning, dry and smooth on the tongue, beefy and greasy in the beautiful long finish.
Serve with
In the Rhône Valley this organic wine is often served with oysters and other shellfish. Classically combined with sea fish, poultry or white meat. Particularly good with poultry paté or terrine.
Serving Temperature
8-12 °C
Culinary Advice
Delicious served with our Sole and Scallop Roulade.
Buy or taste this wine? For more information visit Wijnkoperij De Gouden Ton
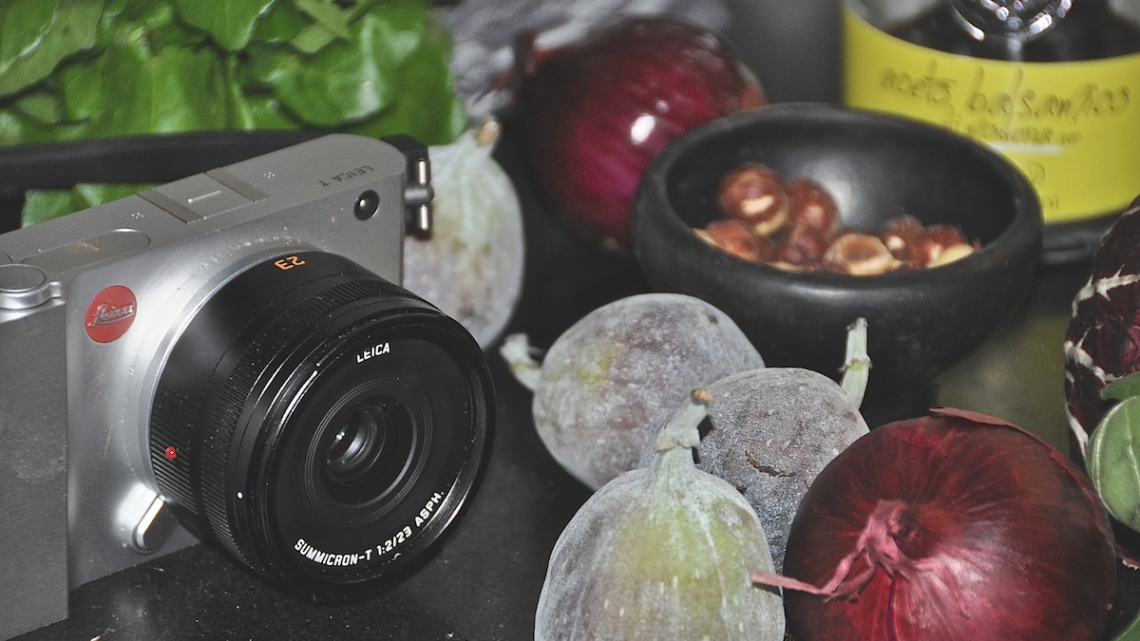
Leica T
Good photos are an extremely important part of our website. They should be sharp, clear, naturally-coloured and be inviting enough that you, our reader, would want to cook our recipes or visit the places we do.
When we were searching for a camera, we had only one brand in mind. Leica, is known for their superb quality, beautiful design and practicality. We were overjoyed when they joined us as a partner. All our photos for Amsterdam Flavours are taken using a Leica T camera.
It's made of a light but robust sleek aluminium body which is small enough to carry around with you and fit into any bag. Despite it's small size, it's big on functionality. It's packed with capabilities like wifi and a built in 16 GB memory. It's 16,5 megapixel ensures sharp and clear results, which are easily viewed on the large touch screen.
For us, it's the lenses that make all the difference. We believe Leica's lenses to be the best and they always help us achieve the shot we want.
As we continue to grow Amsterdam Flavours, we look forward to seeing what else we can achieve with our Leica T.
For more information, please visit Leica.
China Town
Every city around the world has it's own China Town and Amsterdam is no different.
On a street called Zeedijk, a stones-throw away from the Red Light District, you'll find a cluster of Chinese restaurants and supermarkets. There are Peking ducks hanging in the windows, Chinese families doing their groceries, paying their respects at the beautiful Chinese Temple or grabbing a bite to eat.
We needed some specialty Asian ingredients so we made our way to Dun Yong supermarket. You'll find an incredible array of Chinese, Japanese, Thai and Asian ingredients. Ranging from frozen tom yum soup packs, fresh coriander with the root attached to a range of woks and steamers. This is the one-stop shop for your Asian store cupboard and ingredients you won't find any where else.
It was getting late and we hadn't eaten lunch yet, so Mischa suggested we go and eat dim sum at Hoi Tin. He's been eating there for years and has always wanted to take Bernadette to try it out, so this was the perfect opportunity.
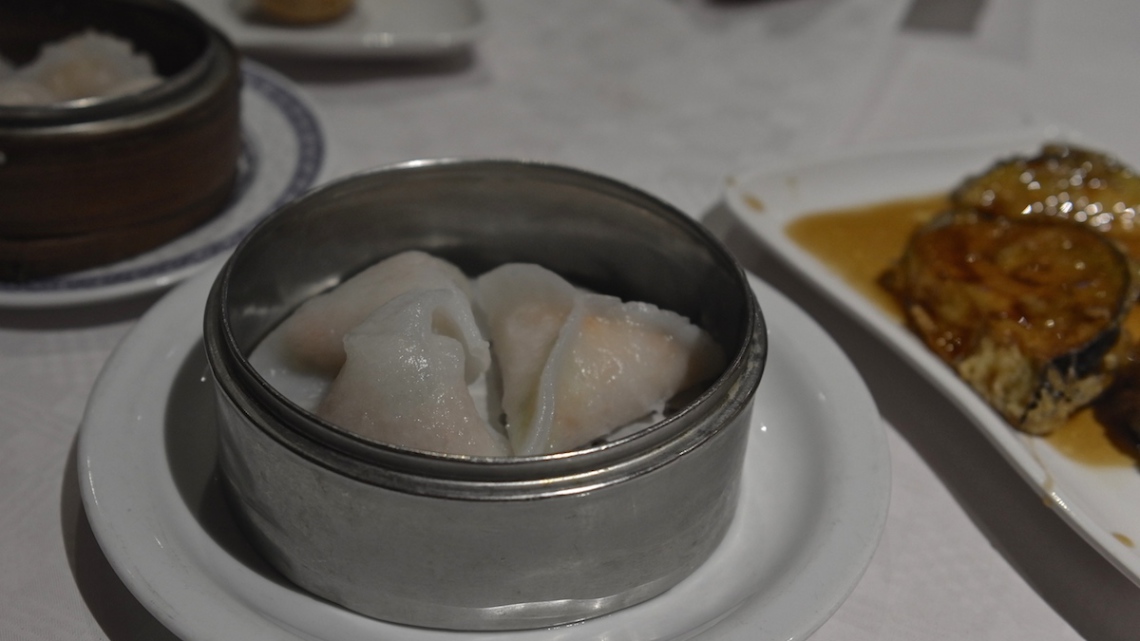
We sat down to a pot of fragrant, steaming jasmine tea before tucking in to steamed dumplings with prawns and scallops. Aubergine slices, filled with pounded shrimp, deep fried in a light batter and served on a soy based sauce. To end, sesame balls, fried and filled with a sweet peanut paste. Reasonably priced food which does wonders for your soul and belly! We'll be going back soon to have dinner there.
Sticky Toffee Pudding
Ingredients
75 g butter, plus extra for greasing
175 g soft brown sugar
1 tablespoon golden syrup
2 eggs
2 tablespoons black treacle
200g flour
2 teaspoons baking powder
200g pitted dates
300 ml water
1 tablespoon bicarbonate of soda
1 teaspoon vanilla extract
Caramel Sauce
300 g sugar
300 ml cream
50 g butter
generous pinch of salt
Method
Preheat an oven to 180 C. Grease a 30 cm x 20 20 cm square cake tin with butter and line with baking paper.
Cream the butter and sugar together in a mixer until pale and fluffy. Add the golden syrup, treacle, vanilla extract and eggs, a little at a time, and blend until smooth. Mix the flour and baking powder together. Add the flour and blend, at a low speed, until well combined.
Meanwhile, place the dates in a pan with the water and bring to a boil. Blend the dates and water in a Magimix (food processor) to a smooth purée. Stir in the bicarbonate of soda and vanilla.
Pour the date mixture into the batter and stir until well combined. Pour the mixture into the tin and bake for 20-25 minutes, or until the top is springy and golden-brown.
To make the caramel sauce, place the sugar in a pan and het gently until it dissolves and is caramelised to a mahogany colour. Carefully add the cream, stand back as it will spit and splatter. Keep on the heat, stirring now and again until the caramel dissolves. Turn off the heat, stir through the butter and salt.
To serve, cut the pudding into 12 generous squares and place serving plates. Pour over the caramel sauce and serve. Delicious with a scoop of vanilla ice cream.
We, the Amsterdam Flavours chefs, hope you enjoy this recipe as much as we do. If you have any questions on how to prepare it or just want to send us your feedback, you can reach us here Contact Amsterdam Flavours
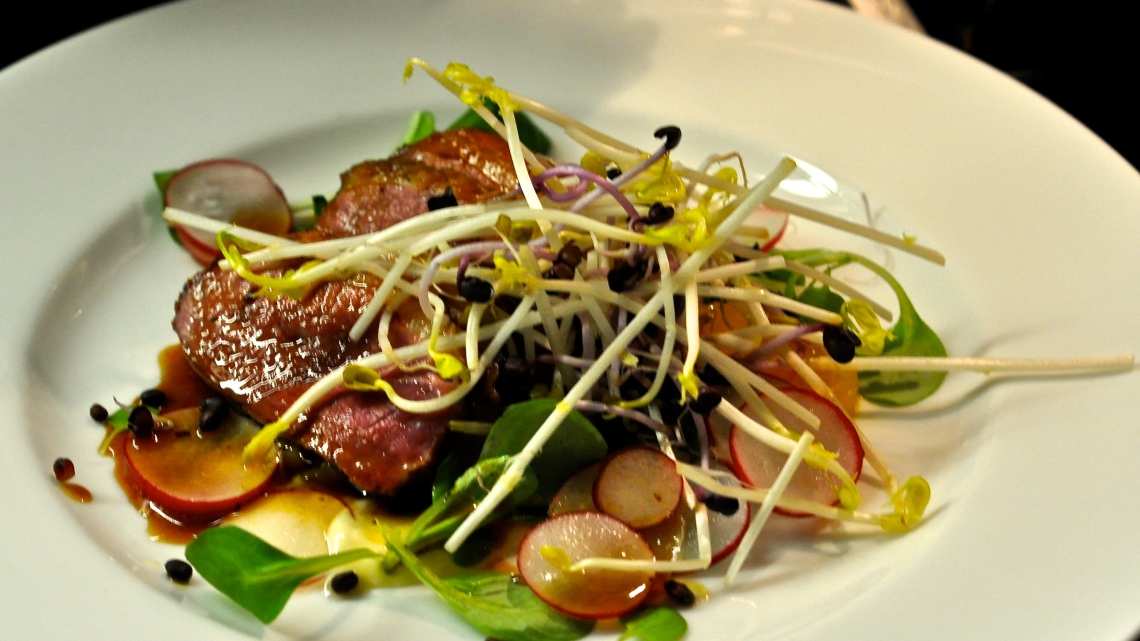
Duck Salad with Preserved Lemon Aioli
Serves 4
Ingredients
4 duck breasts
salt and pepper
2 oranges, peeled and segmented
small bunch of radishes, finely sliced
75 g lamb's lettuce
1 container pea shoots
1 container beetroot cress
Preserved Lemon Aioli
75-100 g preserved lemon (or to taste)
1 large clove garlic
2 egg yolks
1 teaspoon lemon juice
salt
250 ml sunflower oil
Dressing
2 tablespoons orange juice
2 teaspoons soy sauce
2-4 teaspoons honey (or to taste)
Method
Preheat the oven to 180 C. Begin with the aioli. Finely chop the preserved lemon and garlic. Place in a magimix (food processor) with the egg yolks, lemon juice and salt, to taste. Blend until the mixture is smooth. With the motor running, slowly pour the sunflower oil in until the ingredients have emulsified and formed a mayonnaise. Check the seasoning and set aside.
Place all the dressing ingredients in a bowl and whisk to combine.
Score the fat of the duck diagonally with a small sharp knife, making sure you don't cut into the meat. Season with salt and pepper. Heat a non-stick frying pan over a medium-low heat and fry the duck, fat side down in a dry pan to render as much of the fat of as you can.
As the fat accumulates, carefully pour it off into a bowl. After about 5 minutes when the fat has cooked away and has turned golden brown, increase the heat of the pan to high, flip the duck over and fry on the meat side for 1 minute. Transfer to a roasting dish. Place in the oven for about 8 minutes. You want the duck to still be pink. Remove from the oven and rest for about 5 minutes.
Place a spoonful of the aioli on the base of each plate, spreading it out a little. Arrange the orange segments, radishes and lamb's lettuce on top. Slice the duck breasts and arrange them on top. Drizzle with the orange dressing, top with the pea shoots and beetroot cress and serve.
We, the Amsterdam Flavours chefs, hope you enjoy this recipe as much as we do. If you have any questions on how to prepare it or just want to send us your feedback, you can reach us here Contact Amsterdam Flavours
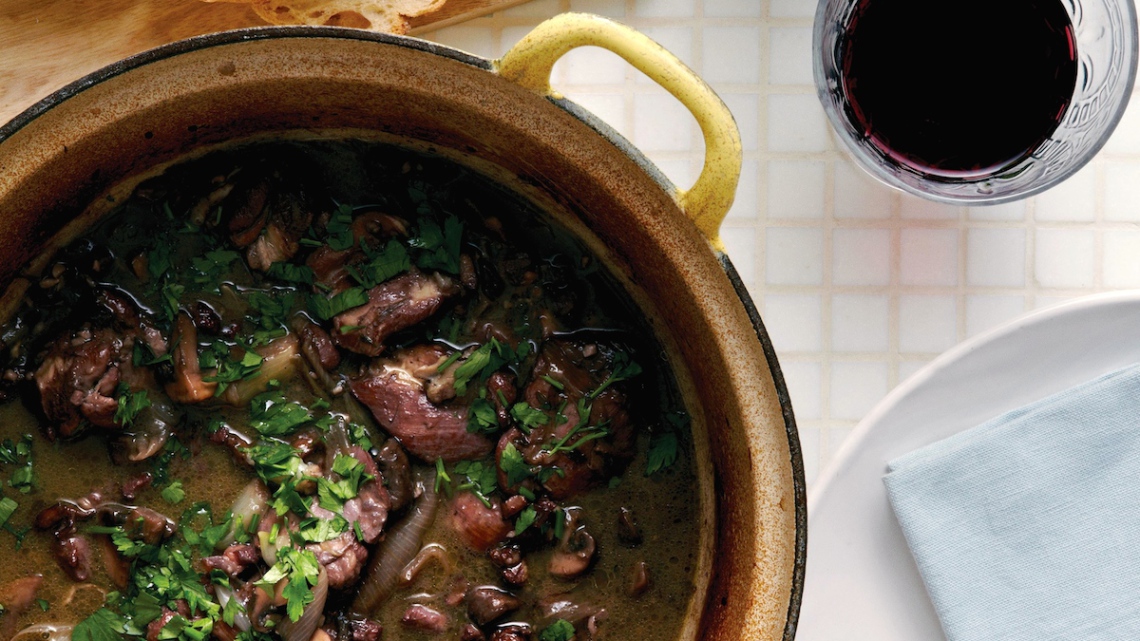
Bilder & de Clercq's New Recipes Week 48
As you may know by now, we are the chefs behind Amsterdam hotspot, Bilder & de Clercq. Every week we develop 3 new recipes for the stores and we'll be keeping you updated with the week's newest recipes. This weeks new recipes are:
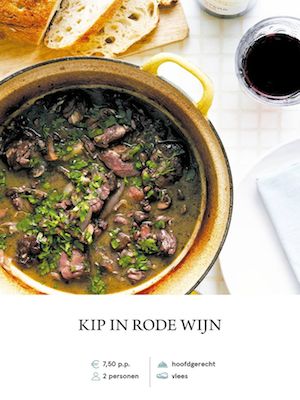
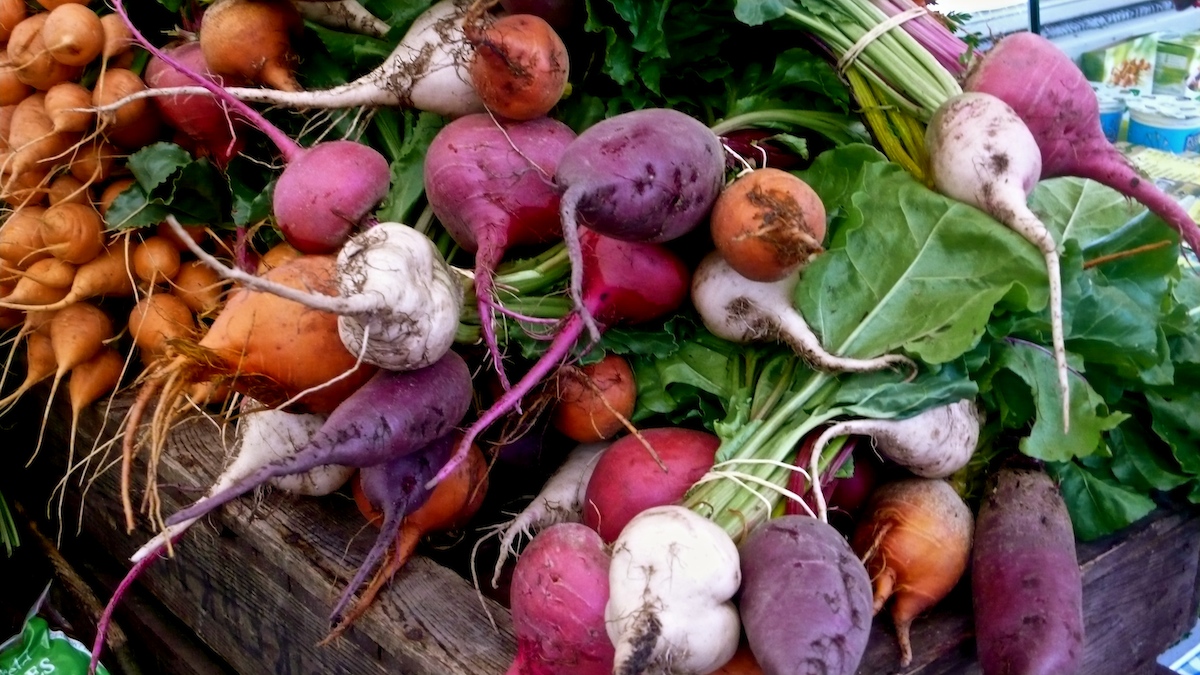
Roasted heritage beetroot
Get your beet on! As a side for dinner tonight, try roasting some heritage beetroot. Line an oven tray with a long piece of foil. Lay on the beet, add some whole, unpeeled garlic cloves, thyme, bay, olive oil, salt and pepper. Wrap up loosely with the foil and bake in the oven at 200C for about an hour or until the beets are tender. Peel and serve with a protein of your choice or turn into a salad with a vinaigrette, some herbs and goats cheese.